7 min read
Disclosure: As an Amazon Associate and eBay Partner Network publisher, we earn from qualifying purchases. This doesn’t affect what we recommend or how we describe it.
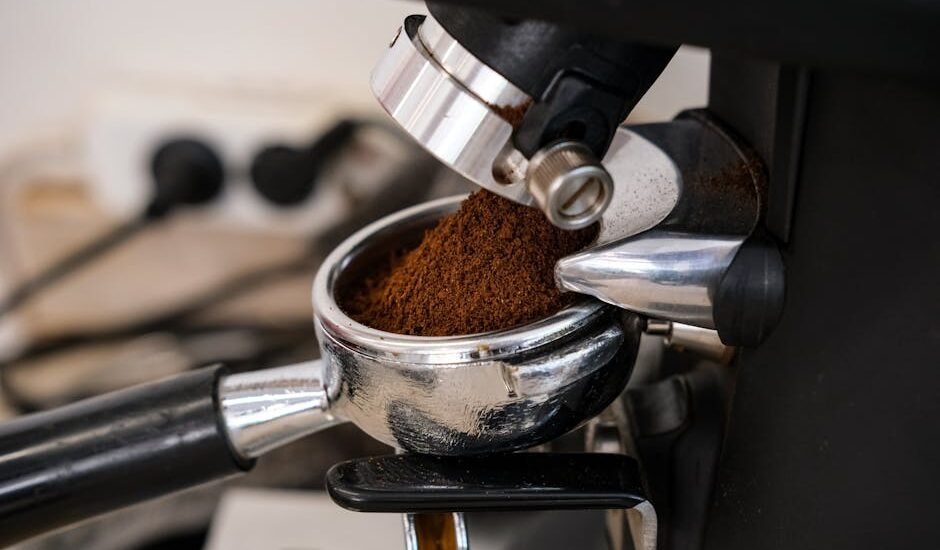
Dialing in your espresso grind size is the single most important adjustment you can make for better shots at home. Whether you’re troubleshooting sour, watery pulls or aiming to hit that sweet spot with rich crema and balanced flavors, the right grind size is the lever that changes everything. This guide breaks down how to find your ideal espresso grind, what tools and settings actually matter, and the concrete steps to take for café-level results from your own kitchen setup.
Why Grind Size Matters for Espresso Extraction
Espresso is unforgiving. A shot is typically pulled at 9 bars of pressure in 25–35 seconds, using 16–20 grams of coffee for a standard double. The only way to control how quickly water flows through that puck—and how much flavor you extract—is with grind size. Too coarse, and the water gushes through, making your shot sour and weak. Too fine, and the machine chokes, producing bitter, over-extracted espresso or barely dripping at all.
Unlike pour-over or French press, espresso demands a grind size in the 200–400 micron range—about as fine as table salt, but not powdery. Small changes (as little as 10–20 microns) can make a dramatic difference. That’s why a grinder with precise, repeatable adjustments is essential for dialing in your shot.
Comparing Grinder Types and Espresso Setups for Grind Precision
| Setup Type | Adjustment Increments | Burr Size (mm) | Grind Range (microns) | Espresso Machine Pressure (bars) | Price |
|---|---|---|---|---|---|
| Entry-Level Manual Grinder | 30–50 microns/click | 38 | 200–1000 | 9 | $ |
| Stepped Electric Burr Grinder | 20–30 microns/step | 40 | 200–800 | 9–15 | $$ |
| Stepless Electric Burr Grinder | Continuously variable | 50 | 150–700 | 9 | $$$ |
| Direct Dosing Single-Dose Grinder | 10–15 microns/step | 64 | 150–600 | 9 | $$$ |
About the $ symbols: they’re a quick budget/mid/premium read of where each option sits relative to the others in this comparison. See current prices in the live listings below.
Manual grinders with 38mm burrs can get you started, but stepping up to a stepless electric grinder with 50mm or larger burrs is a game-changer for both consistency and micro-adjustability. Single-dose grinders (with 64mm or larger burrs) are ideal for enthusiasts who want minimal retention and ultra-precise grind control. The machine’s pressure setting (9 bar is standard for true espresso) and your grinder’s adjustment increments are the real numbers to focus on—not marketing buzzwords.
Signs Your Espresso Grind Size Needs Adjustment
Before you start twisting dials, pay attention to your shot’s behavior and taste. Here’s what to watch for:
- Shot pulls too fast (under 20 seconds): Grind is too coarse. Expect sour, weak flavors and pale crema.
- Shot takes too long (over 40 seconds): Grind is too fine. Results in bitter, muddy flavors and scant crema.
- Channeling or uneven flow: Puck prep may be an issue, but grind size can also be uneven. Consistent grind is non-negotiable for even extraction.
- Good shot (25–35 seconds, 1:2 ratio): Balanced, sweet, and full-bodied—this is the goal.
Tracking your dose (in grams), yield (in grams), and time (in seconds) gives you a repeatable framework for dialing in. A simple digital scale and timer are all you need.
Step-by-Step Guide: How to Dial in Grind Size for Espresso
- Start with a Baseline Dose and Ratio Choose a dose (e.g., 18g of coffee) and a target yield (e.g., 36g out) for a 1:2 brew ratio. Use a digital scale for accuracy.
- Set Your Grinder to a Middle Setting Begin at the manufacturer’s recommended espresso range, or set your grinder to the middle of its espresso range if you’re unsure.
- Pull a Test Shot and Time It Lock in your portafilter, start your shot, and time how long it takes to reach your target yield. Note the taste and crema.
- Adjust Finer or Coarser as Needed If your shot pulls in under 20 seconds, make the grind finer by one small step or a few degrees (on stepless). If it takes over 40 seconds, go coarser.
- Repeat Until You Hit 25–35 Seconds Pull another shot after each adjustment, always keeping dose and yield constant. Taste each shot and note improvements or new issues.
- Fine-Tune for Taste and Texture Once you’re in the right time window, experiment with micro-adjustments for optimal flavor—balanced sweetness, pleasant acidity, and rich crema.
- Record Your Final Settings Write down your grind setting, dose, yield, and time. This makes it easy to return to a great shot, even if you switch beans or grinders later.
Related Guides
- Espresso Machine vs Moka Pot: What’s the Real Difference?
- Our guide to How Is Crema Formed in Espresso? The Science Behind the Signature Foam
- What’s the Ideal Pressure Setting for Espresso Machines?
- Our guide to How to Adjust Espresso Machine Pressure: A Step-by-Step Guide
- AeroPress vs French Press: Which Makes Better Espresso-Style Coffee?
- Our guide to Espresso Machines for Home Use, Reviewed
- Browse all Brewing Guides →
How a 9-Bar Espresso Machine Changes Your Shots
Espresso machines designed for home use typically operate at 9 bars of pressure, which is the industry standard for extracting balanced espresso. Some machines let you boost pressure up to 15 bars, but this rarely improves flavor and can actually worsen channeling if your grind isn’t dialed in. Stick with 9 bars for reliable results, and focus on grind size and even puck prep instead of chasing higher pressure. According to the Coffee Chemistry resource, pressure consistency is more important than sheer intensity for proper extraction.
How to Read Your Grinder’s Adjustment System
Not all grinders use the same adjustment system. Some use stepped settings (with audible clicks or numbers), while others are stepless (letting you tweak continuously). For espresso, you want adjustment increments under 30 microns per step for true control. Stepless grinders are ideal, but a stepped grinder with small intervals (20–30 microns) can also work. Avoid grinders made for drip or French press—they rarely go fine enough for espresso’s 200–400 micron target range.
What to Do When You Change Beans
Every new bag of beans will require at least a minor grind adjustment. Lighter roasts usually need a finer grind, while darker roasts extract better with a slightly coarser setting. Switch beans? Start with your last setting, but expect to tweak 1–2 steps finer or coarser. Always taste and time your first couple of shots to zero in on the new sweet spot. Keeping notes in a coffee journal can save you a lot of guesswork.
Frequently Asked Questions About Dialing in Espresso Grind Size
How often should I adjust my espresso grind size?
Expect to adjust your grind every time you switch to a new bag of beans, or if your shots suddenly start running faster or slower than usual. Even daily humidity changes can shift your grind slightly, so check your shot times regularly and tweak as needed.
What’s the ideal grind size range for espresso?
Most home espresso setups work best with a grind size between 200–400 microns. This is finer than table salt but not as fine as flour. The exact sweet spot depends on your machine and beans, so use shot time and taste as your final guide.
Stepped vs. stepless grinders—which is better for dialing in?
Stepless grinders offer infinite adjustability, letting you make tiny tweaks for perfect shots. Stepped grinders are easier for beginners and stay consistent, but the steps may be too large for precise dialing in. If you’re serious about espresso, a stepless grinder is worth the investment. Compare current options to see which fits your budget and workflow.
Can I use a blade grinder for espresso?
Blade grinders can’t produce the uniform, fine grind needed for espresso. They create uneven particles, leading to channeling and poor extraction. For real espresso, a burr grinder with fine adjustment is non-negotiable. See today’s deals on entry-level burr grinders that are espresso-capable.
How long does it take to dial in a new espresso grind?
With a good grinder and a repeatable process, you can usually dial in a new bean in 15–30 minutes. Expect to pull 3–5 test shots, making small adjustments each time. Keeping notes speeds things up next time.
What should I do if my grinder won’t go fine enough?
If your shots always run fast, even at the finest setting, your grinder may not be espresso-capable. Some entry-level grinders are built for drip or French press and can’t reach the 200–400 micron range. In that case, it’s time to upgrade. View what’s available for grinders designed specifically for espresso.
Does grind retention matter when dialing in?
High retention means old grounds can mix with fresh, making it harder to dial in consistently. Single-dose grinders minimize retention, helping you make precise adjustments and keep every shot consistent. If you change beans often, consider a grinder with under 2g of retention per dose.
Final Tips for Consistent Espresso at Home
Dialing in grind size isn’t a one-time task—it’s an ongoing part of making espresso. Always keep your grinder clean, stick to a repeatable process, and trust your taste buds as much as your timer. When in doubt, change only one variable at a time: grind, dose, yield, or time. For even deeper dives into extraction science, check out Perfect Daily Grind for up-to-date espresso research and barista-tested advice.
With a little practice and the right tools, you’ll hit that perfect shot more often—and enjoy better coffee at home every day.
Last updated: May 2026 · How we cover this topic